One-Page MV Preview: Audio Clock and Two Alternating Videos
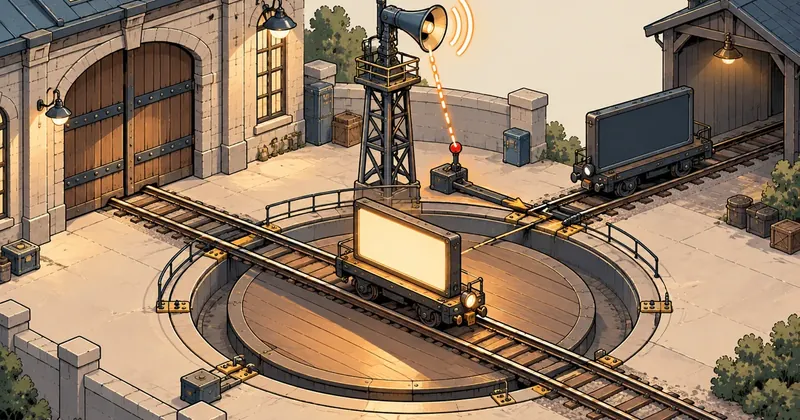
Looking at an edit plan as a table of numbers does not tell me whether the film will flow smoothly. So I built a web page that plays the plan along with the audio, letting me see it as a film before spending time rendering, with audio as the page's only clock.
1-minute summary
- Symptom / problem
- A 33-cut edit plan shown as a table of numbers does not tell you whether it plays smoothly.
- Who should read
- People planning a music-driven video edit who want to see it before rendering.
- Fix in short
- Build an HTML page that plays the plan with audio as the master clock and two A/B video elements swapping at cut edges, correcting video time only when it drifts past 0.22 seconds, without calling ffmpeg.
I had an edit plan for an experimental song with 33 cuts across 9 song sections. At first, I built a board where I could choose cut times manually. After using it for a while, I realized it was not what I needed. What I wanted was to "lock the cuts and let the camera angles change automatically with the song." I wanted to see whether it looked like a film while the song played, without waiting for an ffmpeg render every time. This article describes the structure of the preview page I built.
I will not cover the contents of each shot or where the clips came from. In this article, the clips are simply short mp4 files with generic names.
The task: change camera angles with the audio without calling ffmpeg
My edit plan is a JSON file generated by a Python script, with another script to check it. Nobody edits the HTML manually. The page reads two sets of data. The first contains the cut blocks. Each block has an id, start and end times on the song timeline, a clip file, and an in-point: the position where playback should start within that clip. The second contains the 9 song sections.
{
  "duration": 192.8,
  "blocks": [
    { "id": 1, "start": 0.0,   "end": 6.62, "clip": "clips/shot-a.mp4", "in": 0.2 },
    { "id": 2, "start": 6.62,  "end": 9.40, "clip": "clips/shot-b.mp4", "in": 1.1 }
  ],
  "sections": [
    { "name": "s1", "start": 0.0, "end": 21.4 }
  ]
}
The example above is shortened for readability and uses generic names. The actual plan has 33 blocks. When the song plays, the page needs to know which block it is in, then show the right shot at the right position within the clip.
Why I chose audio as the clock
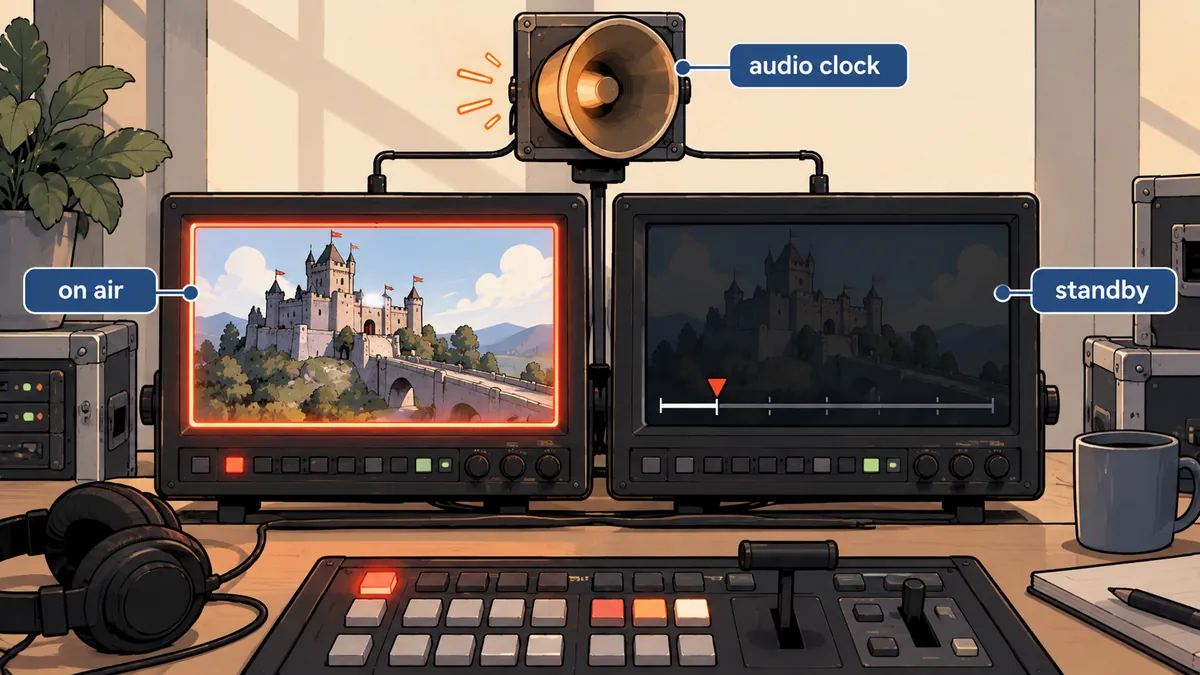
The page has three things that move through time: audio, video, and the position marker on the bar. If each runs independently, one needs to take the lead. I made <audio> the master clock for one design reason: the ear immediately notices an audio glitch, while hardly anyone notices video lagging by a frame or two. I did not measure this in a comparison; it was simply a design rationale. As a result, everything else follows the audio, rather than the other way around.
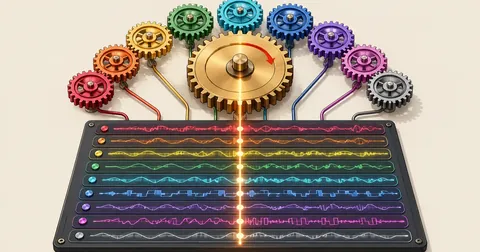
In a later iteration, I changed the audio itself from a single mixed audio file to 9 stems playing together on one AudioContext, as described in Playing 9 stems together in the browser with one clock. The preview uses the same interface: currentTime, play, pause, and the timeupdate and seeked events. The video code therefore does not need to know whether the audio behind it comes from one file or nine.
Two A/B videos instead of one that changes src
The first idea most people would probably have is a single video whose src changes at each cut boundary. The problem is that changing src starts loading again. It has to wait for metadata, then wait for the seek to reach the starting point. That creates a chance of a black frame or a frozen image at the cut boundary. This is a theoretical rationale; I did not measure the actual latency. The approach I chose uses two videos.
- The active video shows the current shot.
- The standby video loads the next shot and waits at its in-point.
- At the cut boundary, they simply swap roles, with nothing left to load.
Both have muted playsinline preload="auto" set. Audio comes from the single <audio> element. Setting muted on the videos is also necessary for another reason: browser policy allows muted videos to autoplay.
The logic: showBlock and sync
There are two core functions. One swaps roles; the other corrects timing against the audio. This code is rewritten from the actual implementation with generic names. It works with HTML containing <audio id="song">, <video id="video-a">, and <video id="video-b">.
// cut-preview.js — ข้อมูลอยู่ในตัวแปร P ที่สคริปต์ Python ฝังมา
const song = document.getElementById('song');
const A = document.getElementById('video-a');
const B = document.getElementById('video-b');
let active = A, standby = B, current = -1;

function blockAt(t) {                     // binary search หาบล็อกที่ start <= t
  let lo = 0, hi = P.blocks.length - 1;
  while (lo < hi) {
    const mid = (lo + hi + 1) >> 1;
    if (P.blocks[mid].start <= t) lo = mid; else hi = mid - 1;
  }
  return lo;
}

function targetTime(b, t) { return b.in + (t - b.start); }

function cue(v, i) {                      // เตรียมวิดีโอให้รอที่ in-point ของบล็อก i
  const b = P.blocks[i];
  if (!b) return;
  v.dataset.block = String(i);
  if (v.dataset.clip !== b.clip) { v.dataset.clip = b.clip; v.src = b.clip; }
  const seek = () => { v.currentTime = b.in; };
  v.readyState >= 1 ? seek() : v.addEventListener('loadedmetadata', seek, { once: true });
  v.pause();
}

function showBlock(i) {
  if (standby.dataset.block !== String(i)) cue(standby, i);   // ปกติเตรียมไว้แล้ว
  [active, standby] = [standby, active];                      // สลับบทบาท ไม่โหลดใหม่
  active.classList.add('active');
  standby.classList.remove('active');
  standby.pause();
  cue(standby, i + 1);                                        // ตัวสำรองรับช็อตถัดไป
  current = i;
}

function sync() {
  const t = Math.min(song.currentTime, P.duration);
  const i = blockAt(t);
  const switched = i !== current;
  if (switched) showBlock(i);
  const want = targetTime(P.blocks[i], t);
  const limit = switched ? 0.1 : 0.22;    // เกณฑ์แก้เวลา ไม่ใช่ทุกเฟรม
  if (active.readyState >= 1 && Math.abs(active.currentTime - want) > limit) {
    active.currentTime = want;
  }
  if (!song.paused && active.paused) active.play().catch(() => {});
}

['timeupdate', 'seeked', 'play'].forEach(ev => song.addEventListener(ev, sync));
song.addEventListener('pause', () => { A.pause(); B.pause(); });
I thought through three details. First, do not correct the time every frame. A video that is repeatedly seeked will stutter. I let the video run normally and intervene only when it is more than 0.22 seconds away from the target. Second, just after a shot swap, I use a tighter threshold of 0.1 seconds because that moment should be more precise than normal playback. Third, play().catch(() => {}) swallows autoplay policy errors. If the browser rejects playback, the next sync cycle will try again.
If the threshold is very small, such as 0.02, timing correction runs on almost every cycle, repeatedly seeking until it causes the video to stutter. I chose 0.22 seconds to allow a little drift in exchange for smooth playback. I chose this value through use; it does not come from a standard. Other machines or browsers may need adjustments.
Swapping at a cut boundary: the sequence
A seekable waveform bar drawn on canvas
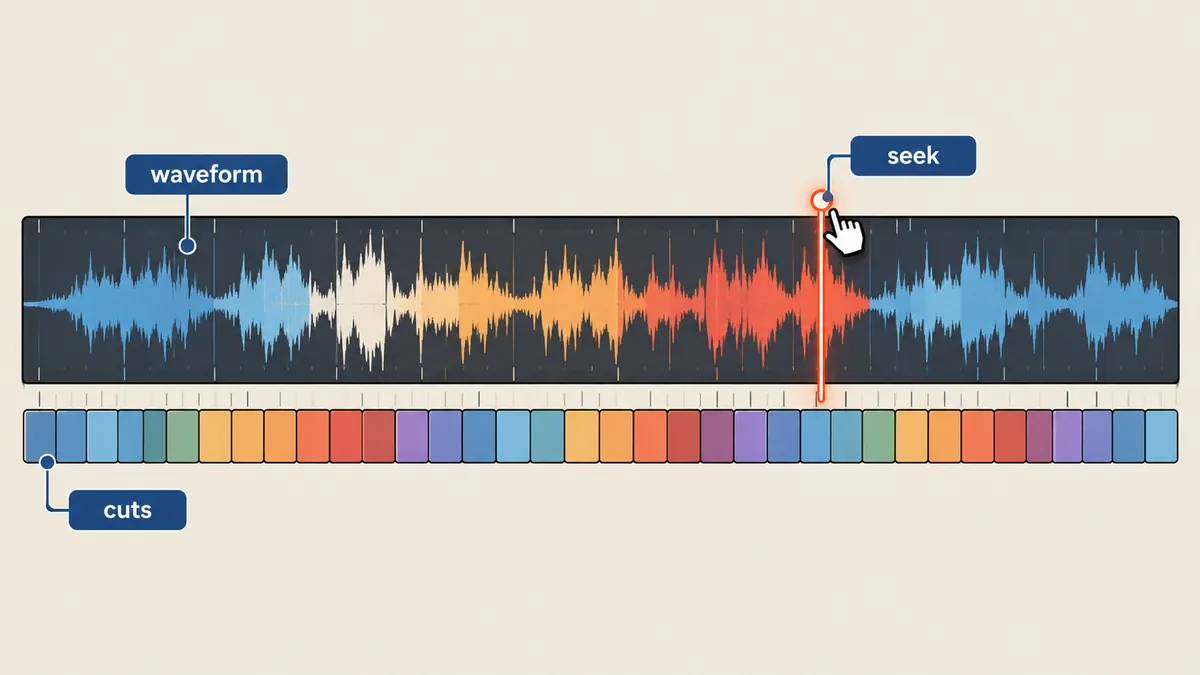
A plain position slider, <input type="range">, only shows the position. When editing, I want to see the waveform: where the audio is loud and where it is quiet. So I drew the waveform on a <canvas>. The waveform data is prepared in Python when generating the preview, downsampling the audio to mono 8 kHz and storing a peak value every 80 samples, equivalent to 10 milliseconds.
# build_peaks.py — peak ทุก 10 ms ฝังลงแผนพรีวิว
import subprocess
import numpy as np

raw = subprocess.run(
    ['ffmpeg', '-v', 'error', '-i', 'mix.wav', '-ac', '1', '-ar', '8000', '-f', 'f32le', '-'],
    capture_output=True, check=True).stdout
y = np.frombuffer(raw, dtype=np.float32)

hop = 80                                   # 8000 Hz x 0.010 s = 80 ซัมเปิลต่อช่อง
peaks = np.abs(y[: len(y) // hop * hop]).reshape(-1, hop).max(axis=1)
peaks = (peaks / (peaks.max() + 1e-9) * 255).astype(int).tolist()

plan = {'duration': len(y) / 8000, 'peakHop': 0.01, 'peaks': peaks}
print(f'peaks {len(peaks)} ช่อง ยาว {plan["duration"]:.3f} วินาที')
The browser draws one column at a time. If the screen is narrower than the number of bins, it combines several bins into one column by taking the maximum value. The same canvas also serves as the seek bar.
function drawWave() {
  const c = document.getElementById('wave');
  const w = c.clientWidth, d = devicePixelRatio || 1;
  c.width = w * d; c.height = 58 * d;
  const g = c.getContext('2d'); g.scale(d, d);
  const n = Math.ceil(w / 3), hop = P.peaks.length / n;     // คอลัมน์ละ 3 พิกเซล
  for (let i = 0; i < n; i++) {
    let m = 0;
    for (let j = Math.floor(i * hop); j < Math.floor((i + 1) * hop); j++) m = Math.max(m, P.peaks[j]);
    const h = (m / 255) * 54;
    g.fillRect(i * 3, 29 - h / 2, 2, Math.max(1, h));
  }
}

const wave = document.getElementById('wave');
wave.onclick = e => {
  const r = wave.getBoundingClientRect();
  song.currentTime = Math.max(0, Math.min(P.duration - 0.01, (e.clientX - r.left) / r.width * P.duration));
};
wave.onkeydown = e => {                    // role="slider" tabindex="0" ใช้คีย์บอร์ดได้
  const step = { ArrowLeft: -5, ArrowRight: 5 }[e.key];
  if (step) { song.currentTime = Math.max(0, Math.min(P.duration, song.currentTime + step)); e.preventDefault(); }
};
The bar has role="slider" and tabindex="0", allowing arrow keys to seek in 5-second steps. This helps both keyboard users and automated tests.
Verifying that it follows the audio: checks in a real browser
I did not trust visual inspection alone, so I wrote a script that drives a real browser to open the preview, seek to a point just after each cut boundary, and read the audio time and active video time for comparison with values calculated from the plan. The results are recorded in a JSON file covering all 33 cuts. Two examples make the behavior clear.
For cut 1, at song time 0.08 seconds, the video was at 0.28 seconds, matching the plan's expected value of 0.28 seconds. The other case was the first shot that continued on its own after pressing play: the audio was at 6.7156 seconds and the video at 1.2208 seconds, while the plan expected 1.2676 seconds. The difference was 47 milliseconds, below the 0.22-second threshold, so it was not corrected. Both sets of numbers come from the actual check results file. I also kept screenshots from both desktop and mobile as accompanying evidence.
The 47 milliseconds is not a fault; it is what the design allows. Forcing it to zero would require me to seek constantly, making the video stutter. So I accept a little drift in exchange for smooth playback. Actual frame-position verification has to happen during the ffmpeg render, not in the preview.
Leftovers from the old plan and the scope of this work
When the audio changed from the old file to a set of stems lasting 192.8 seconds, I found that the original template's aria-valuemax attribute was still 194, a value from the old plan. This value needs to come from the song duration in the current plan; it should not be hardcoded in the template. I recorded this as an observation: hardcoded numbers in templates are places where things can quietly go wrong when the data changes.
One thing I have not verified and will not claim is that user edits are saved to localStorage. I found no code for that in this automatic playback template (I only saw it in the board for choosing times manually). The editor belonging to the same project is also specific to that job and was not designed for direct reuse.
Manual cut-time board
- Requires choosing times manually
- Does not show continuous playback with the song
- Did not work for what I needed
Audio-following playback template
- Cuts are locked in the JSON plan
- Camera angles change automatically as the song plays
- Shows the film before rendering
Limitations to understand before trusting the preview
This preview answers one question: "Do the cuts keep up with the song, and does playback look continuous?" It does not prove that the rendered file will match frame for frame, because browser video playback uses decoding and seeking that are not always frame-accurate. Precise frame locking needs to be done and checked during the ffmpeg render. I therefore use the preview as a fast first check, revealing problems in the plan within seconds without waiting for a render, then apply a stricter check later.
The sequence I use to set up this kind of preview
- Always generate the plan as JSON from a script. Do not edit the HTML manually. Embed block and song-section data from the plan.
- Use audio as the only master clock. Calculate every other position from song.currentTime.
- Set up two A/B videos, both muted playsinline preload auto, with the standby waiting at the next shot's in-point.
- Correct video timing only when drift exceeds 0.22 seconds (0.1 seconds just after a swap), not every frame.
- Draw the waveform from peaks every 10 milliseconds on canvas, add role slider, and support arrow keys.
- Drive a real browser to seek to every cut, compare video time with the value from the plan, and record the results as JSON.
If you build this yourself, treat 0.22 and 0.1 as starting points to adjust for your own machine and clips. Clips encoded with widely spaced keyframes will seek less accurately than clips with frequent keyframes. I have not run a comparison, so I will not claim any numbers. If I have missed an explanation or made a typo, I will come back and fix it later.
Hit something like this? Stuck somewhere?
Come trade notes on the LinuxThai board
Comments 0
No comments yet — be the first