Isolating a conda Env for a New Model on RTX 50
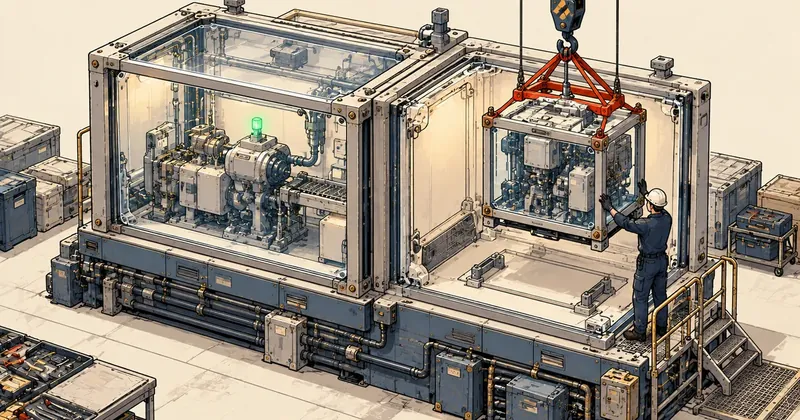
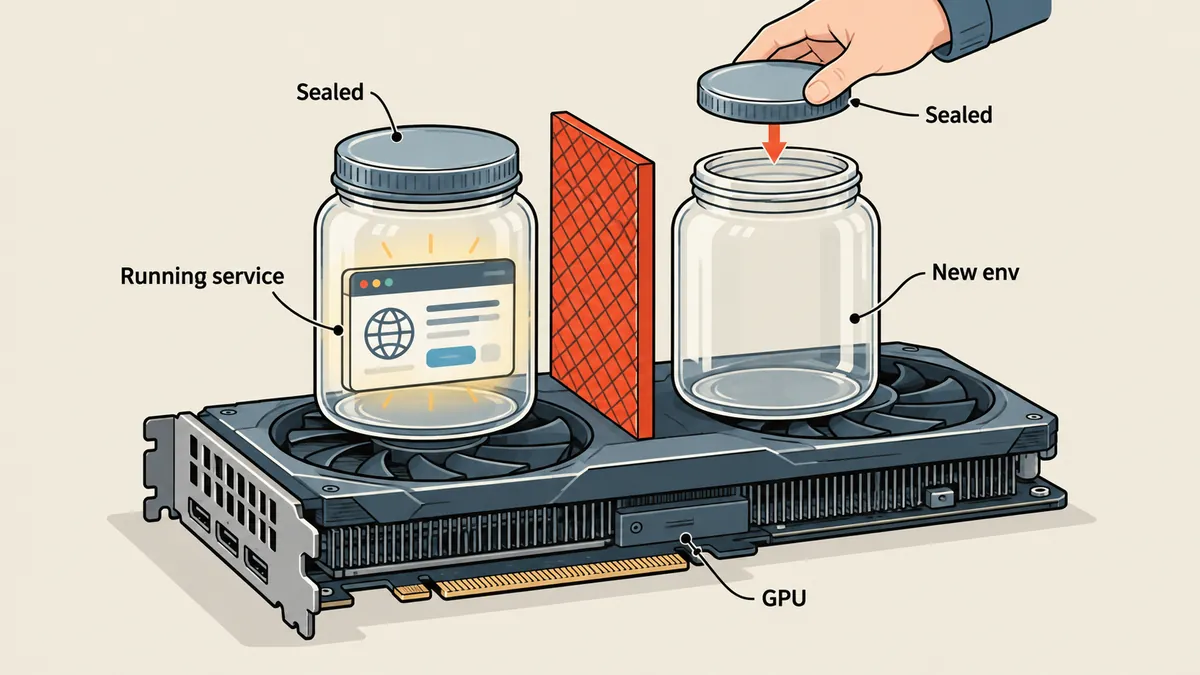
A running service should not be touched just because I want to try something new. The right approach is to give the new software its own home, then verify that environment with read-only commands before installing anything into it.
1-minute summary
- Symptom / problem
- Installing an image-to-3D model on an RTX 50 GPU machine with no nvcc, no MSVC and other services running
- Who should read
- People who want to try a new AI model on a machine that already runs other work
- Fix in short
- Create a separate conda env and use prebuilt wheels instead of building CUDA extensions, reaching 190 and 317 seconds within 16 GB of VRAM
I wanted to try an open image-to-3D model that converts an object image into a 3D file on a separate GPU machine. The problem was that the machine already had an image generation service for another project running on port 8080, and its card was a 16 GB RTX 50 based on the Blackwell architecture (compute capability 12.0 or sm_120), running on Windows. I had to find a way to install the new software without breaking what was already there. This article describes my reasoning and the sequence I followed, rather than providing a ready-made installation script, because I am not confirming the model's specific commands here.
I am not naming the model because I have not checked its license terms, and I will write library versions as parameters rather than fixed values. The only figures I can confirm are the time and memory measurements from actual runs, which appear in the later sections.
The times of 190 and 317 seconds and VRAM usage of 15.8 out of 16 GB come from my own card and test images. They can serve as a reference, but they are not guaranteed results for other machines, and I have not compared quality across resolutions enough to establish a rule.
The problem: a running service and a model that needs newer software
My rule is leave the running service alone; put the new software in a new env, because research models often require versions of PyTorch and CUDA extensions that differ from those in the existing env. If I install into the existing env and torch gets replaced with another version, the service that was running fine can break without warning. Creating a new env costs disk space and download time, which is much cheaper than recovering the old env.
I needed prebuilt wheels because this machine had no CUDA toolkit (no nvcc), no MSVC and no WSL. I could not build the model's required CUDA extensions from source myself. I had to find wheels that someone in the community had already built for Windows on Blackwell, and those wheels require specific versions of Python, torch and CUDA. This is exactly why a separate env was necessary: the versions required by the wheels might differ from those in the existing env.
Inspect the machine with read-only commands first
Before creating anything, I ran a single set of checks that wrote nothing to the machine, to see what was already there. I wanted to learn three things. First, whether a build toolchain was available. Second, what compute capability the existing env reported for the GPU. Third, which port the existing service was actually running on.
# ตรวจ toolchain สำหรับ build ส่วนขยาย CUDA (อ่านอย่างเดียว)
Get-Command nvcc -ErrorAction SilentlyContinue
Get-Command cl.exe -ErrorAction SilentlyContinue
wsl --status 2>&1 | Select-Object -First 3

# บริการเดิมฟังพอร์ตไหนอยู่
Get-NetTCPConnection -LocalPort 8080 -State Listen -ErrorAction SilentlyContinue |
    Select-Object LocalAddress, LocalPort, OwningProcess
# รันใน env เดิม เพื่อดูว่า GPU ถูกมองเห็นเป็นอะไร (ไม่ติดตั้งอะไรเพิ่ม)
import torch
print("torch        :", torch.__version__)
print("cuda build   :", torch.version.cuda)
print("gpu visible  :", torch.cuda.is_available())
print("capability   :", torch.cuda.get_device_capability(0))   # Blackwell ต้องได้ (12, 0)
print("arch list    :", torch.cuda.get_arch_list())
On my machine, the checks found no nvcc, no MSVC and no WSL, while the existing env detected the GPU normally. The torch version in the existing env differed from the version required by the prebuilt wheels. I noted the versions in my work log, but I am not listing them here because they must be checked against the actual wheels being used every time. The thing to remember is to check the arch list line for sm_120. If it is missing, that torch build does not support Blackwell cards, which is the same issue I previously encountered with TensorFlow in the article on RTX 50 and DirectML.
Create a new env, then verify the GPU before installing the model
I verified one layer at a time, with each lower layer required to pass before moving to the next. Otherwise, when something breaks, I would not know which layer had failed.
- Create an env with a new, unique name and select the Python version specified by the prebuilt wheels.
- Install the torch version required by the wheels from the matching CUDA index (the cu130 series in this case).
- Run
get_device_capability(), which must return (12, 0), and try one matrix multiplication on the GPU. - Install CUDA extension wheels that match this env's Python, torch and CUDA versions.
- Install the model and its remaining dependencies, then download the model weights and the base models it uses as a separate step.
# ตัวอย่างโครง ไม่ใช่สคริปต์จริง: แทนค่าให้ตรงกับที่ wheel สำเร็จรูประบุ
conda create -n image3d python=3.12 -y
conda activate image3d
pip install torch==<รุ่นที่ wheel รองรับ> --index-url https://download.pytorch.org/whl/cu130

python -c "import torch; print(torch.cuda.get_device_capability(0))"   # ต้องได้ (12, 0)
python -c "import torch; x=torch.randn(2048,2048,device='cuda'); print((x@x).sum().item())"

pip install <ไฟล์ wheel ของส่วนขยาย CUDA ที่ตรง Python/torch/CUDA>
I deliberately used <version supported by the wheel>, because the correct version is the one declared by that extension's prebuilt wheel, rather than the latest torch version. If I use the latest version and the wheel does not match, I will get an import error, or worse, it might run but produce incorrect results. I am not giving the filename of the wheel I used because I have not yet confirmed its full name.
Install as a background job and monitor the log
Installing a research model takes time. Downloading the model weights and base models takes tens of minutes or more. I did not measure download time separately from installation time, so I have no separate figures to give. I ran it as a background job that wrote logs to a file, then checked the end of the file periodically instead of sitting in front of the screen, and a disconnected console would not kill the job.
# รันติดตั้งเป็นงานเบื้องหลัง เขียน log แยก stdout / stderr
$job = Start-Process -FilePath "pwsh" `
    -ArgumentList "-NoProfile","-File",".\install-model.ps1" `
    -RedirectStandardOutput ".\install.out.log" `
    -RedirectStandardError  ".\install.err.log" `
    -PassThru -WindowStyle Hidden
$job.Id

# ดูความคืบหน้าจากท้าย log
Get-Content .\install.out.log -Tail 20 -Wait
Before rebooting the machine, I stopped this job as instructed by the machine's owner, then resumed after the reboot. This reinforces that when someone else's service is running on a machine, the timing of a reboot or heavy resource use needs to be agreed on beforehand.
The first inference attempt failed several times, which is normal
After installation was complete, my first attempt at single-image inference failed several times. Each failure was a small issue that needed to be fixed individually.
- The background removal model called by the code did not work. I switched to another open background removal model.
- The einops package was missing. I had to run
pip install einopsmyself because the dependencies were not fully declared. - An import in the postprocess step was wrong. On one attempt, the program exited with exit code 2, and I had to fix the import line to match the module that actually existed.
After those fixes, the run succeeded. My warning to anyone trying this is to expect to fix dependencies one at a time when installing a research model on Windows. Most research code is written and tested on Linux with a complete toolchain. On Windows without a compiler, these small integration issues surface one by one, which does not mean the approach was wrong.
I had every run write stderr to a separate file, then read the last line of the traceback before guessing anything. All three issues above stated their causes directly in the last line of the traceback. Without logs, tracking them down would take many times longer than fixing them.
Measured results: one image, multiple views and the VRAM ceiling
I ran two configurations in VRAM-saving mode on a 16 GB card. The first used one image, and the second used images from four views. The measured results were:
The resulting GLB files were about 39 MB with roughly one million triangular faces in both configurations. The difference was the quality of the sides the camera could not see. With a single image, the system had to guess the back and sides, while the four-view configuration produced a back and sides that matched the actual images more closely because it had real information to work from.
At resolution 1536, a small part used 15.8 out of 16 GB of VRAM, stalled at the mesh generation step and ran much more slowly than usual. I therefore intended to step back to 1024 if the results were not clearly different. But I have not yet compared the results at these two resolutions, so I cannot say whether they differ. Anyone with a smaller card should expect to reach the ceiling sooner than I did.
In multi-view mode, set the cameras to match what the model expects
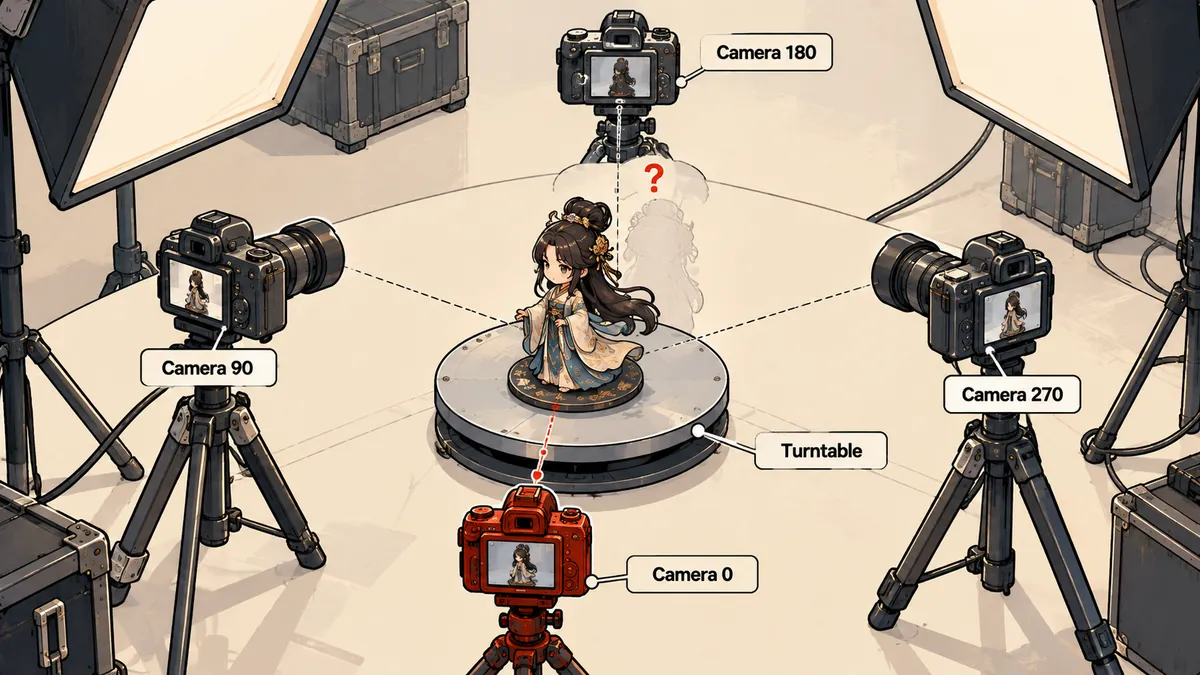
Four-view mode needs the camera position for each image. I used azimuth angles of 0, 90, 180, 270 degrees, ordered as front, left, back, right, with a FOV of 20 degrees and the object filling about 90% of the frame (the target was 88%). The model's official example uses these four views. For other view counts or positions, keep in mind that I have not tested them.
The camera distance needed for the object to fill the target portion of the frame can be calculated with simple geometry. I wrote a small function to check it before capturing the images. This is an example I wrote from the underlying principles, rather than a script from the model.
import math

def camera_distance(object_radius, fov_deg=20.0, fill=0.90):
    """ระยะกล้องที่ทำให้วัตถุ (ทรงกลมห่อ รัศมี object_radius) กินภาพประมาณ fill"""
    half = math.radians(fov_deg) / 2
    return object_radius / (fill * math.tan(half))

def positions(object_radius, azimuths=(0, 90, 180, 270)):
    d = camera_distance(object_radius)
    return [(a, round(d * math.sin(math.radians(a)), 4),
                round(d * math.cos(math.radians(a)), 4)) for a in azimuths]

print(positions(0.5))   # (มุม, x, z) ของกล้องแต่ละตัวที่มองเข้าหาจุดกลาง
Lessons about input images and importing results into Blender
Models like this learn from rendered images of 3D objects, so flat 2D line drawings make volume hard to interpret, and parts that are small in the image receive too few voxels to preserve their detail. My planned mitigations were to crop small parts to fill the image and run them separately, and to use images with shadows and visible volume. In my trials, running small parts separately produced a clear improvement, but testing is still incomplete, so I am not treating it as a rule. Anyone using this approach needs to try it with their own images.
To import the GLB files into Blender and place the single-image and four-view models side by side, I used MCP with one script file per scene change, as described in the article on Blender and the STDIO bridge, which made the comparison a process I could review later.
A summary of the sequence I followed
My position is that on a machine with something already running, a separate env is mandatory. There is no need to try installing over the existing one and hope it survives. The sequence is to inspect the machine with read-only commands, create a new env, verify the GPU with get_device_capability() before installing anything else, install as a background job with logs, and accept from the start that dependencies will need to be fixed one at a time. Use the time and VRAM figures as a reference for your own machine as needed.
The details I have not yet confirmed, and therefore have not presented as facts, are the exact torch versions in both envs, the full wheel filenames and the model installation commands. If I have missed something in the explanation, or library versions change enough that the account no longer matches, I will come back and update it later.
Hit something like this? Stuck somewhere?
Come trade notes on the LinuxThai board

Comments 0
No comments yet — be the first